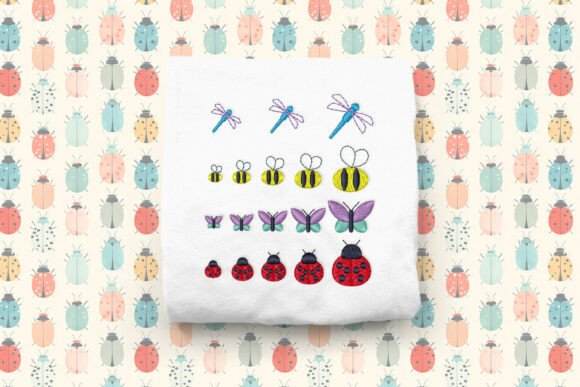
Bugs Micro Embroidery Set
Where This Set Shines in Real Seasonal Product Lines
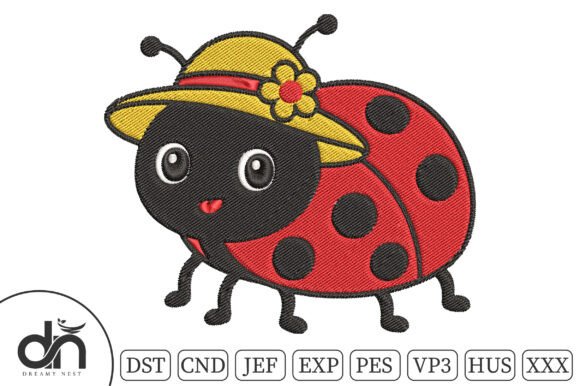
- Sweatshirt embroidery: Placed just above the left cuff or centered low on the back, these bugs add subtle personality without competing with larger motifs. Ideal for family matching sets where kids love the ladybug and adults appreciate the dragonfly’s clean lines.
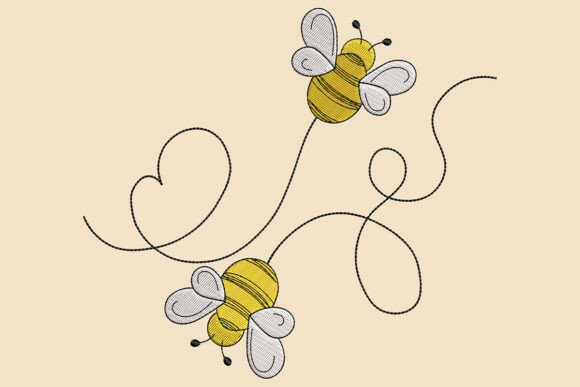
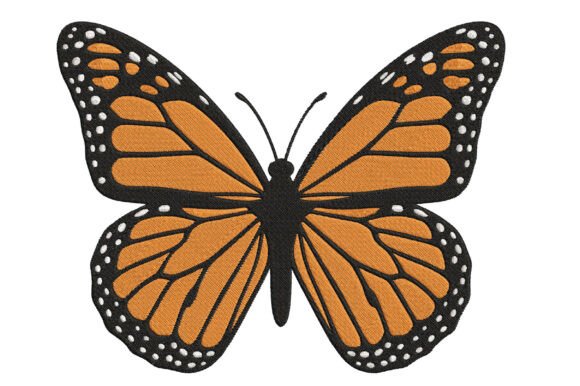
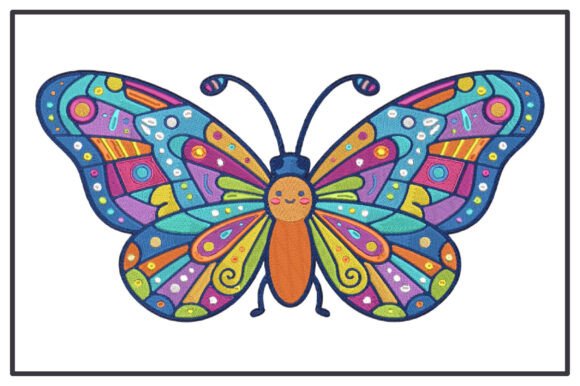
- Tote bag design: A single bee or butterfly centered on a natural canvas tote reads beautifully in person and photographs well for Instagram previews—especially when styled with wrapped gifts or dried florals.
- Kitchen towel embroidery: Tiny stitches hold up remarkably well on tightly woven cotton. I stitched the ladybug onto a cream linen towel using ecru thread—it looked artisan-made, not machine-stitched.
- Pillow cover & ornament applications: At the smallest size, these designs work flawlessly on 3”–4” hoop projects. I used them as focal points on velvet pillow covers and stitched them onto wool-blend ornaments—no puckering, no thread breakage.
- Embroidered patch production: With five included sizes per design, I created cohesive patch sets (e.g., “Garden Friends”) perfect for holiday gift bundles. Buyers love mixing and matching patches on denim jackets or backpacks.
- Baby items & aprons: The simplified detail level means no tiny, unsafe threads—ideal for baby bibs, onesies, and chef aprons sold as personalized gifts during holiday markets.
Smart Use Notes for Holiday Sellers & Small Shop Owners
First, always test thread colors on both light and dark fabric. Metallic or high-sheen threads can overwhelm the delicate scale—stick to matte cotton or rayon for best clarity. On dark towels or sweatshirts, use a lightweight tear-away stabilizer underneath and a light cutaway on top to prevent shadowing. Avoid dense stitch areas on stretchy garments unless you’re using a high-quality knit stabilizer and reducing density manually.
The set includes eight formats and five sizes for most designs—but don’t assume all sizes translate perfectly to curved surfaces like caps or mugs. I recommend sticking to flat or gently contoured items unless you’ve tested the smallest size on your specific hoop and fabric combo. Also, double-check stitch density before scaling down further; some micro details may vanish below 1.8” unless your machine handles under-2000-stitch counts cleanly.
Final Designer Tips Before You Stitch
- Review the Creative Fabrica product page carefully—not just for file formats, but for licensing terms if you plan commercial embroidery or resale of finished products.
- Create realistic mockups using actual fabric swatches, not just digital previews. Light affects how tiny stitches read more than you’d expect.
- Plan your thread palette early: choose one base color (like sage, terracotta, or soft gold) and build variations around it for cohesive holiday bundles.
- Confirm hoop size compatibility before digitizing for production—some micro designs require precise centering in smaller hoops.
- Always stitch a test piece on your target fabric and wash it once before final production. Micro embroidery holds up beautifully—if you’ve stabilized correctly.